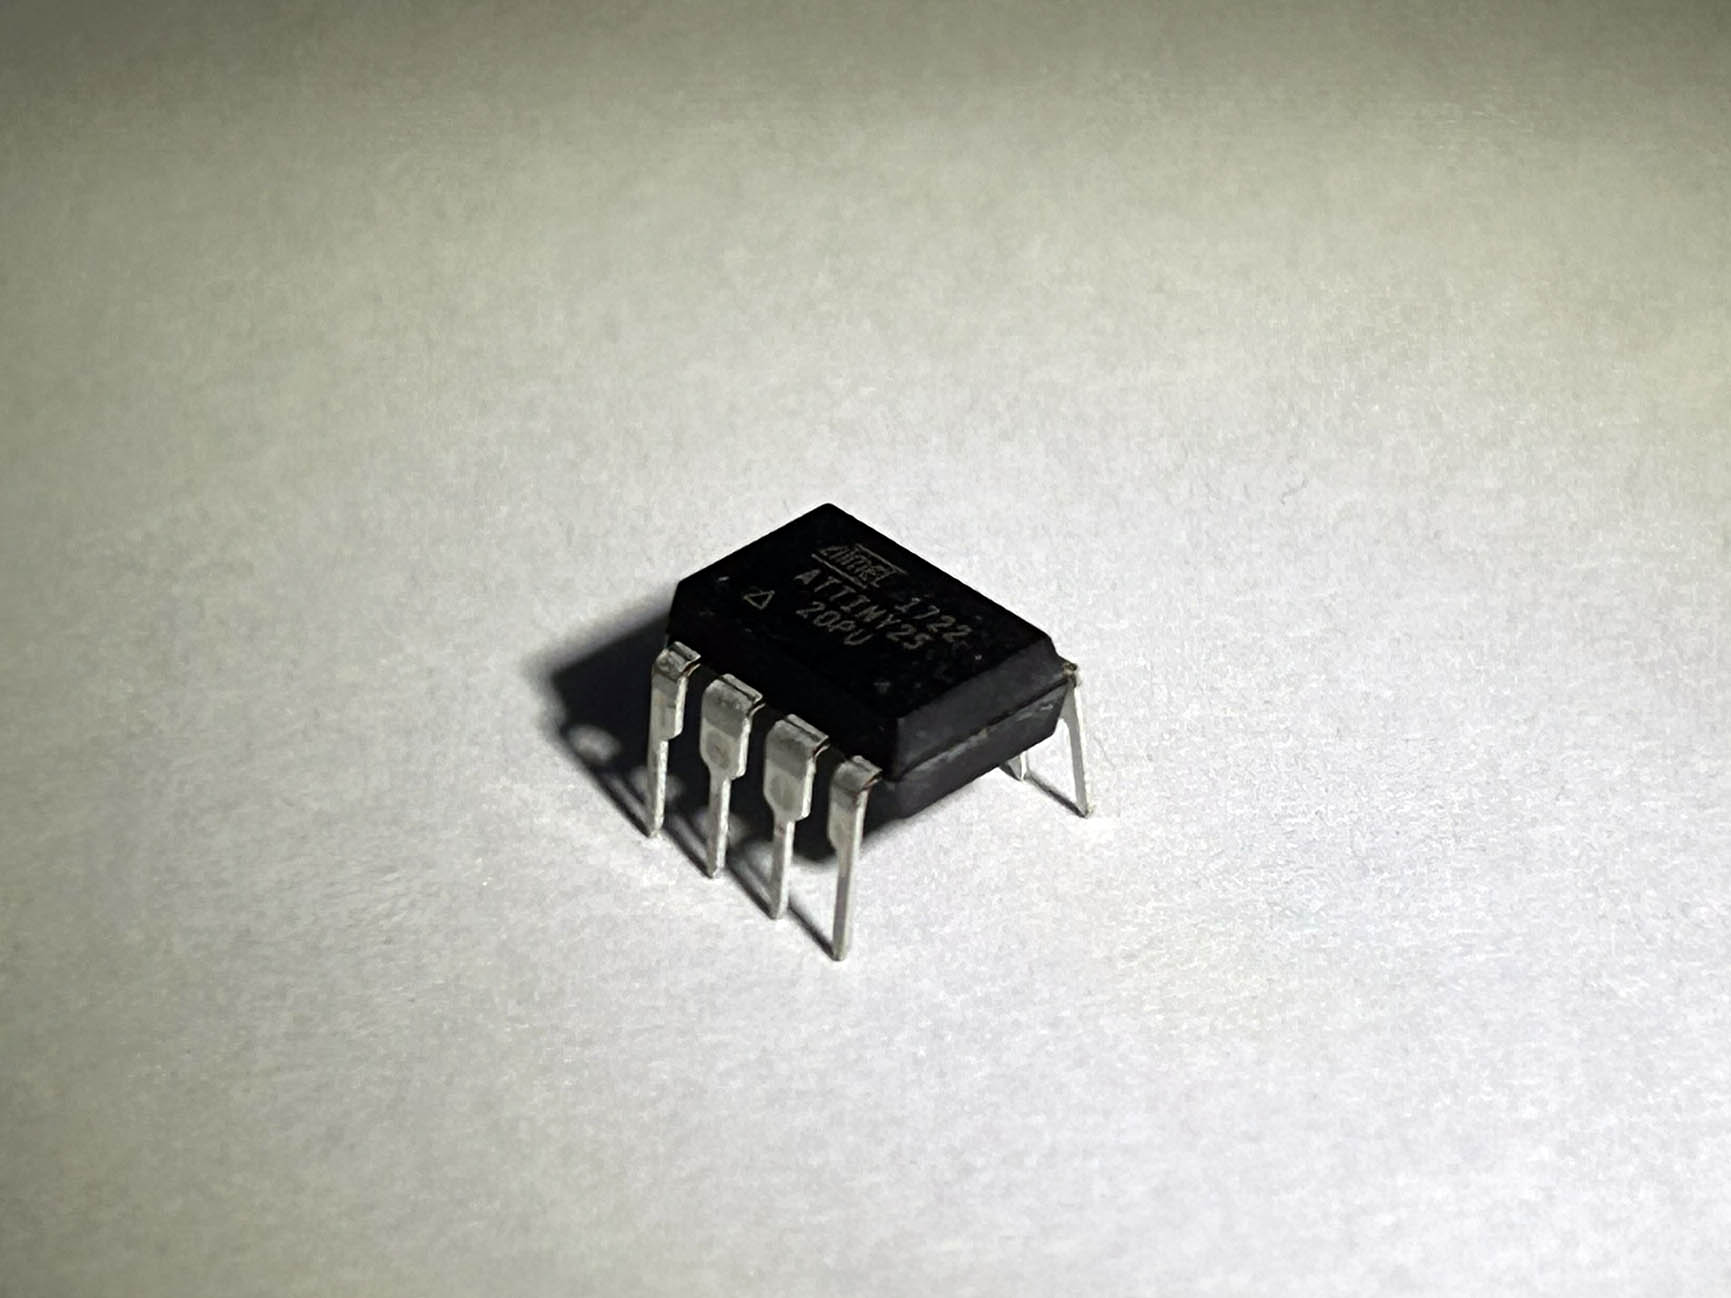
Why the ATtiny25/45/85 is a Great Small Form Factor Microcontroller for Hobbyists
Choosing the right microcontroller can make a significant difference in both design and functionality. While the Arduino Uno is a popular choice for its versatility and ease of use, it’s often more than what’s needed for smaller, simpler tasks. The ATtiny25/45/85 offers a compact and efficient alternative, providing the essential features required for many hobbyist projects, but in a much smaller form factor. In this post, we’ll explore why the ATtiny25/45/85 is a practical option for minimalistic designs and how you can easily program it using an Arduino Uno as an ISP (In-System-Programmer).
Why Choose the ATtiny25/45/85?
The ATtiny25/45/85 is a part of Atmel’s ATtiny family, designed for applications where space and power consumption are a priority. Here are a few reasons why it’s a great choice for your next project:
- Small Form Factor: Measuring just a few millimeters across, the ATtiny25/45/85 can fit in spaces where the bulkier Arduino Uno would be impractical.
- Lower Power Consumption: In projects where battery life is critical, the ATtiny25/45/85 shines due to its low power consumption.
- Cost-Effective: The ATtiny25/45/85 is considerably cheaper than a full-sized Arduino board, making it ideal for smaller, single-purpose projects where you don’t need all the I/O ports of a larger board.
- Sufficient I/O Pins for Small Projects: While the ATtiny25/45/85 only has 8 pins (including power and ground), it still has enough I/O ports to manage small tasks like controlling LEDs, sensors, or even basic communication protocols like I2C and SPI.
- Compatible with Arduino IDE: Despite its size, the ATtiny25/45/85 can be programmed using the familiar Arduino IDE, making it accessible for hobbyists already comfortable with Arduino programming.
Limitations Compared to Arduino Uno
While the ATtinyX5 family is a great microcontroller for smaller projects, it does come with a few limitations:
- Fewer I/O Pins: The ATtinyX5 only offers 5 usable I/O pins (after accounting for power and ground), compared to the 14 on an Arduino Uno.
- Limited Flash Memory: The ATtiny25 has 2KB of Flash memory, which is significantly less than the 32KB offered by the Uno. This means it can’t handle large programs or memory-intensive tasks.
- No Built-in USB Interface: Unlike the Arduino Uno, the ATtinyX5 doesn’t come with a built-in USB interface. However, you can easily program it using an Arduino Uno as an ISP.
How to Program the ATtiny25 Using an Arduino Uno
To program an ATtinyX5, you don’t need any fancy equipment. An Arduino Uno, a breadboard, some jumper wires, and a few capacitors are enough. Here’s a simple step-by-step guide:
Components You’ll Need:
- Arduino Uno (to act as an ISP)
- ATtiny25 (or ATtiny45/85, which follow similar steps)
- Breadboard
- Jumper Wires
- 10µF Capacitor (optional, but recommended)
- A Computer with Arduino IDE Installed
Step 1: Install ATtiny Support in Arduino IDE
Before you start, you’ll need to add ATtiny support to your Arduino IDE:
- Open the Arduino IDE.
- Go to File > Preferences.
- In the “Additional Boards Manager URLs” field, paste the following URL:
https://raw.githubusercontent.com/damellis/attiny/ide-1.6.x-boards-manager/package_damellis_attiny_index.json
- Go to Tools > Board > Boards Manager and search for “ATtiny.” Install the package.

Step 2: Prepare the Arduino as an ISP
Now, we’ll configure the Arduino Uno to act as an In-System Programmer (ISP).
- Connect your Arduino Uno to your computer.
- Open the Arduino IDE and go to File > Examples > 11.ArduinoISP > ArduinoISP.
- Upload this sketch to your Arduino Uno.
- Once the sketch is uploaded, your Arduino Uno is ready to program the ATtiny25.

Step 3: Set Up the Breadboard
Next, we’ll connect the ATtiny25 to the Arduino Uno via the breadboard. Use the following pin mapping to connect the devices:
| ATtiny25 Pin | Function | Arduino Pin |
|---|---|---|
| 1 (RESET) | Reset | Pin 10 |
| 4 | Ground | GND |
| 5 | MOSI | Pin 11 |
| 6 | MISO | Pin 12 |
| 7 | SCK | Pin 13 |
| 8 | VCC (+5V) | 5V |

Optionally, place a 10µF capacitor between RESET and GND on the Arduino Uno to prevent it from resetting during programming.
Step 4: Configure Arduino IDE for ATtiny25
- In the Arduino IDE, go to Tools > Board and select “ATtiny25/45/85.”
- Under Tools > Processor, select “ATtiny25.”
- Under Tools > Clock, choose “Internal 8MHz” (or adjust based on your project needs).
- Set the Programmer to “Arduino as ISP.”
- Finally, go to Tools > Burn Bootloader to set the fuses and initialize the ATtiny25 with your selected clock speed.
Step 5: Upload Your Sketch
Now that everything is set up:
- Write or open a sketch in the Arduino IDE, such as the classic Blink example.
- Click Upload to send the sketch to the ATtiny25.
